Microsoft Clarity offers a various tools to measure user interactions on your website. One of the most intriguing features is Smart Events.
What are Smart Events?
Smart Events are a way to measure key user interactions on your website. For instance, you might want to track how many users click on a “Contact Us” button or a “Start Assessment” button. With Smart Events, you can set up these metrics in Microsoft Clarity to gain insights into user behavior.
How to Setup Smart Events
Before you begin, ensure you have admin access to your Microsoft Clarity account. Without it, you won’t be able to set up Smart Events. Here’s a step-by-step guide:
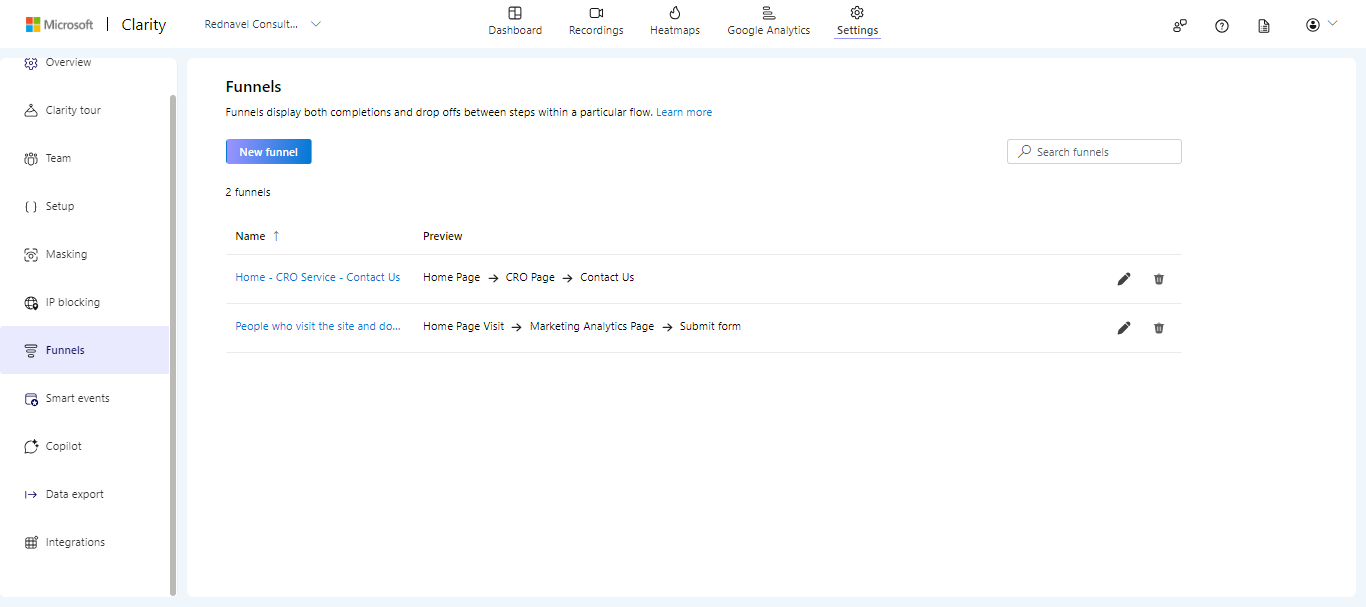
- Log in to Microsoft Clarity: Navigate to the settings and click on Smart Events.
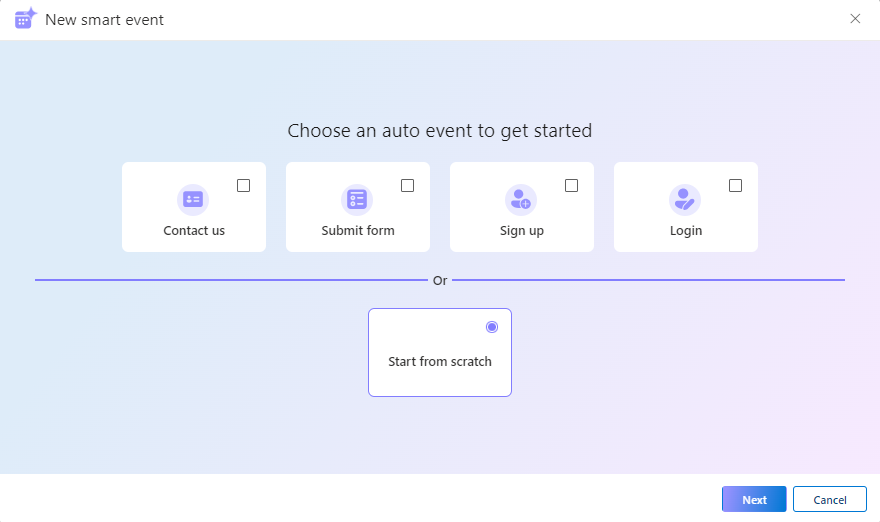
- Create a New Smart Event: Click on “New Smart Events”. Depending on your website type, Microsoft Clarity might suggest some predefined Smart Events. However, you can create one from scratch.
- Define Your Event: Choose the type of event you want to track. This could be button clicks, API events, or page visits. You can even mix and match these options.
- Customize Your Event: Give your Smart Event a unique name, such as “Start Assessment Button Clicks”.
- Save and Manage Your Event: After setting it up, you can save, edit, or delete your Smart Event as needed.
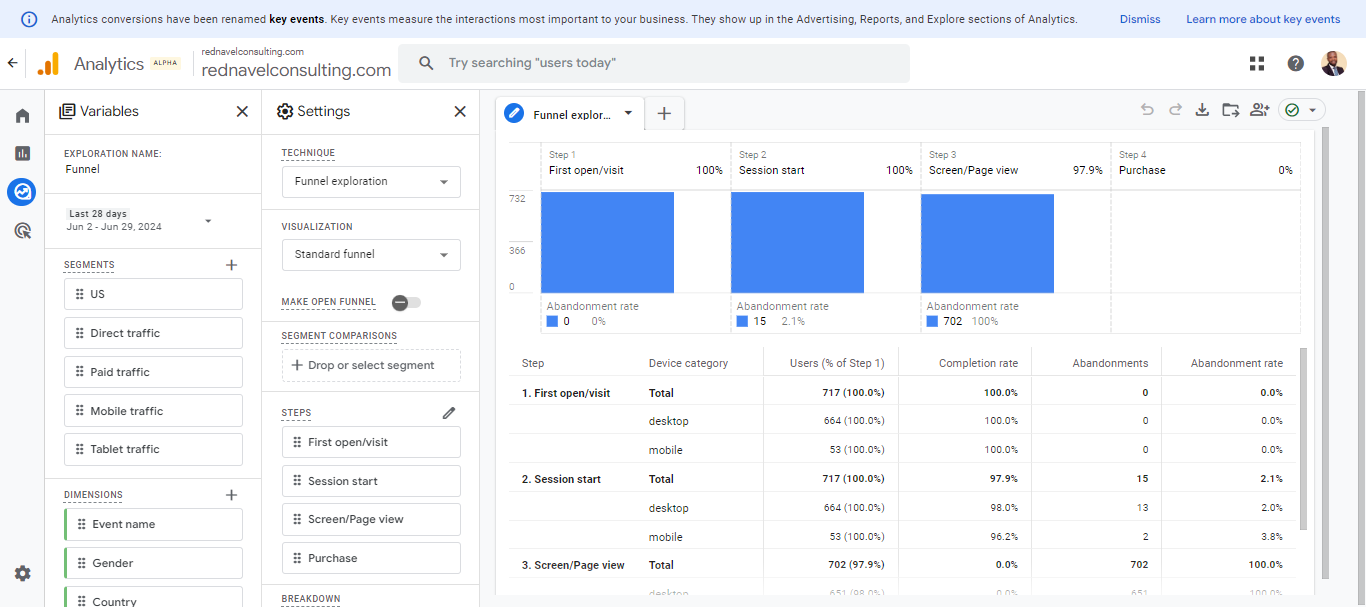
Once your Smart Event is set up, the real magic happens. You can visualize how users interact with these events. For example, you can set up a funnel to see how many users from your homepage click on the “Start Assessment” button. This helps you understand the user journey and identify areas for improvement.
Creating and using Smart Events in Microsoft Clarity is crucial for understanding user behavior and optimizing your website. Thank you for watching this tutorial, and we’ll see you next time!


