Creating a funnel in Microsoft Clarity is a powerful way to track user behavior on your website.
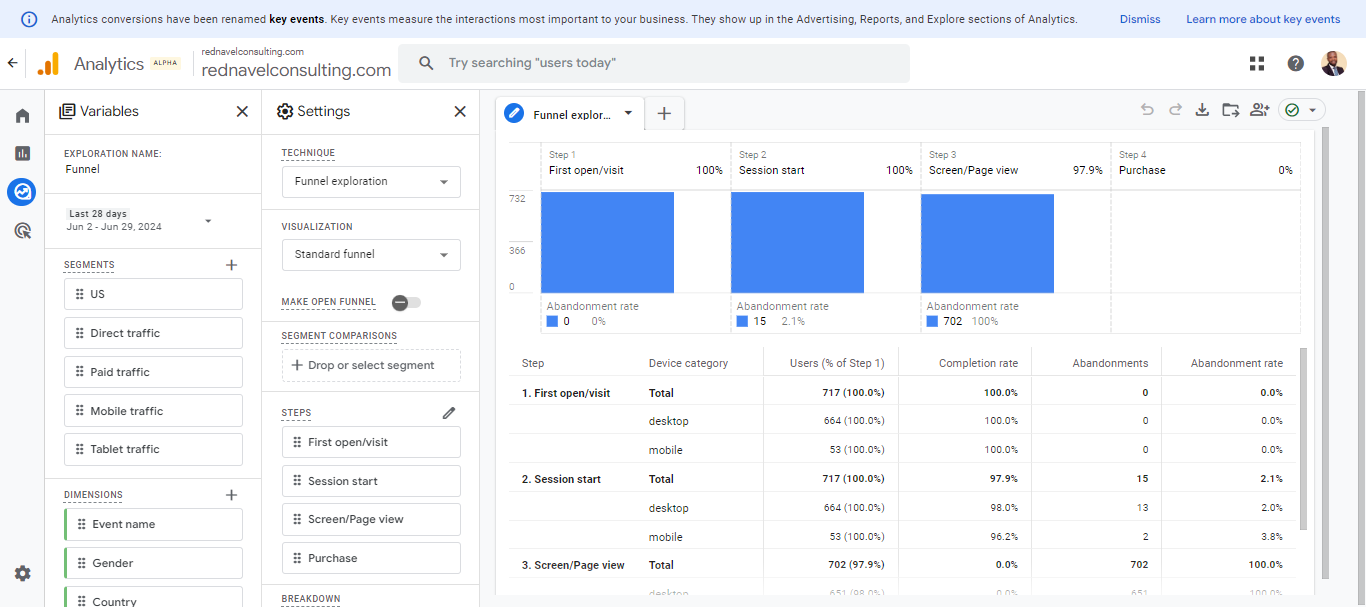
In this video, I demonstrated the process of setting up a funnel, showing how to analyze user progression from the home page to the Contact Us page.
If you don’t have Microsoft Clarity on your website, you can learn how to set it up here.
Step-by-Step Guide to Setting Up Your Funnel in Microsoft Clarity
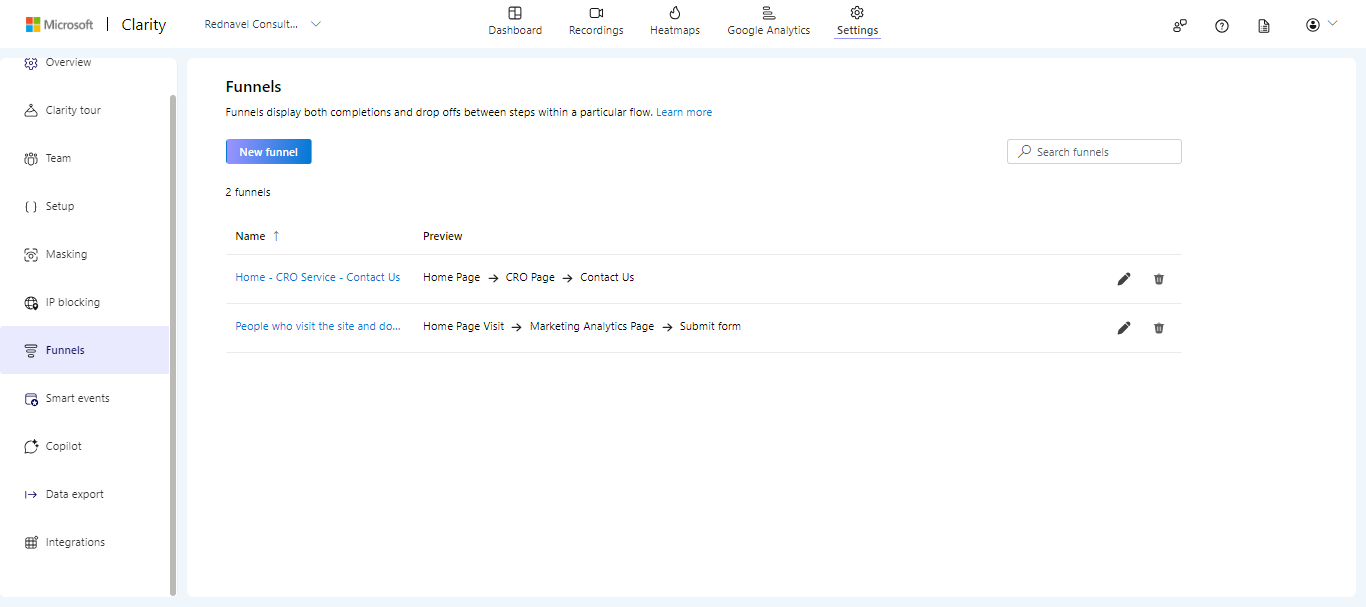
1: Accessing Funnel Settings: Start by navigating to the settings and selecting ‘Funnels.’ Here, you can view, edit, or delete existing funnels and create new ones.
2: Creating a New Funnel: There are two methods to create a funnel in Microsoft Clarity:
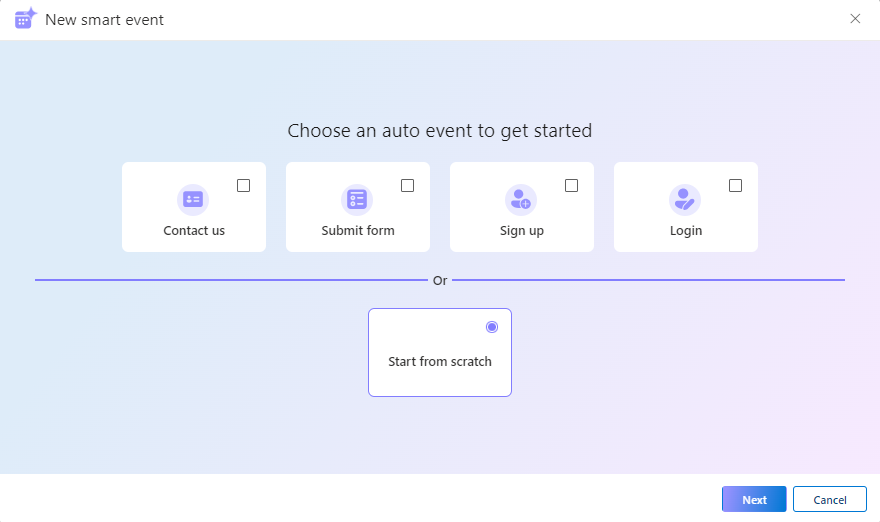
- Smart Events: Use events you have previously set up.
- Page Visits: Track visits based on the sequence of page URLs.
You can also mix and match these methods to suit your tracking needs.
3: Defining Funnel Steps: For example, let’s set up a simple funnel:
- Step 1: Homepage visit.
- Step 2: Visit to a service page (e.g., CRO service page).
- Step 3: Contact Us page visit or a smart event trigger.
After defining your steps, name your funnel and save it.
4: Analyzing Your Funnel: Once set up, you can view and analyze your funnels in the dashboard.
This provides valuable insights into user behavior, helping you optimize your website and improve user flow.
Conclusion
Creating and analyzing funnels in Microsoft Clarity is straightforward and offers significant benefits for understanding and enhancing user engagement on your website. Whether you’re tracking page visits or smart events, funnels provide clear, actionable data to help you optimize your site’s performance.


